Living in $HOME – Some tips to make your shell more comfy


Do you use your shell every day or would like to be more efficient with day to day task by utilizing the terminal? Then this article is for you.
Entrypoint(s)
There are different configuration files for your shell(s) where you can configure and customize.
- /etc/profile – Loaded for every kind of shell (also login shell, which covers the graphical desktop itself)
- ~/.bash_profile – Customization for the Bourne Again Shell, executed for every new shell session created
- ~/.bashrc - BASH Non login shell starting point, for modifying PATH etc
- ~/.zshrc - Zsh Non login shell starting point, for modifying PATH etc
So If you are using the Bash put your modifications in ~/.bash_profile, otherwise use the ~/.<shell-name>rc, e.g., if you are using the ZSH, ~/.zshrc.
In this article, I will mainly cover the Bash, but this also works with ZSH etc.
Aliases
An alias allows you to create a shorthand for a command you use regularly. It is especially helpful to enhance a default command with some default arguments by using your own alias.
Syntax is as following:
alias my-alias="my-command -arg1 -arg2"
Pretty simple, huh? One of the most prominent examples is ll, which executes ls -l under the hood.
Caveats / Cool things
You can also nest aliases, but I would strongly advise avoiding them wherever possible due to a lot of potential for weird behaviour.

The cool thing with aliases is that you can amend as many additional arguments as you like. So e.g. you can run ll -a which would execute the alias ll and pass the -a as well, resulting in ls -l -a to be executed.
Defining helper commands
Sometimes an alias is just not enough, and you have some kind of custom script that can help you perform certain tasks easier. In these cases, it is advisable to create a dedicated helper.
For new binaries etc. to be picked up automatically, I recommend creating a .bin folder inside your directory. As dot files are hidden by default, it won't mess up your home directory as well.
So let's add it to the PATH:
export PATH="$PATH:$HOME/.bin"
Now you can place your scripts under .bin, let's say we frequently deal with files not being UTF8-encoded, and we type (and google) a few commands every time we encounter them.
So given the file is named crappy-encoding.txt, we run the following commands:
# Convert to UTF8
iconv -t UTF-8 crappy-encoding.txt -o crappy-encoding.txt

# Remove DOS markers, CRLF etc.
dos2unix crappy-encoding.txt
As you can see, it's pretty repetitive, we repeat the filename three times and type two commands all the time. This is error-prone and just a lot of effort for little outcome.
Making it more handy
What If I tell you we could just run fix-file crappy-encoding.txt?
Create the script
To achieve this, simply create ~/.bin/fix-file with the following content:
#!/bin/bash

if [ -z "$1" ] || [ ! -e "$1" ]
then
    echo "❌ Please specify a valid file to fix!"
    exit 2
fi

iconv -t UTF-8 "$1" -o "$1" && \
dos2unix "$1" &&
echo "✔️  Fixed charset and m$ bullshit!"

if [ $? != 0 ]
then
    echo "❌ Error processing file ..."
fi
Okay, so what's happening here? You might wonder how we got from two lines to over 10 lines of shell. So let's go through it step by step.
Step by Step explanation of the script
The first if statement checks for $1, it is the first argument passed to our script, so in the example crappy-encoding.txt. If it is not there, we exit and print an error message.
Subsequently, it runs the iconv command using $1 as placeholder for the filename.
To make sure dos2unix only runs when iconv succeeds completely, it is chained afterwards with &&. Here we also use $1 as placeholder for the filename.
Finally, we check $?, which represents the exit code of the two previous commands, in case it is zero, we know the commands both completed successfully. If that is not the case, we display an error message telling us something went wrong.
Making it executable
Now the last step is making it executable: chmod +x ~/.bin/fix-file
When you execute the command fix-file it will search in your path, find the binary in .bin and will execute it.
Conclusion
You can create as many scripts like this, not only limited to shell scripts, you can specify in the first line the hash bang (#!) which takes a path to any interpreter you like. If you want to e.g. use python3 for a script use #!/usr/bin/env python3.
Customizing the prompt
Depending on the shell you use you can either install something powerful like Oh My Zsh, Powerline etc. These tools also come with some extra cost (mostly runtime and latency).
Instead, you can use PS1, which seems a bit cryptic at first. This variable is used for prefixing every new line of your shell. The arch wiki also provides greater assistance here.
In general, you can customize PS1 as you like, e.g. you can display your git branch in your PS1 as well:
# some where in your shell config
__git_branch() {
  branch_name=$((git symbolic-ref HEAD 2>/dev/null || echo "")|cut -d/ -f3-)
  if [ ! -z "$branch_name" ]
    then
    echo "  🌳 $branch_name"
  fi
}

export PS1='\u@\h \w $(__git_branch) >'
The prompt now looks like this:
# With git repo
<user>@<host> <directory> 🌳 <branch> >

# Without git repo
<user>@<host> <directory> >
Special placeholders are prefixed with \, e.g. \w is the current working directory, \u the current username, \h the current hostname.
As you can see, you can also integrate custom functions to resolve, just keep in mind these are getting executed every time a new prompt is created (mostly after commands finished).
Also make sure to always put your PS1 in single quotes to prevent evaluation of the expression before every execution. Otherwise, you would just get the state of the starting directory, which especially in the case of our example is not what we want.
Neofetch
If you are using Arch, btw, you probably already know about Neofetch. If not, you have most likely seen it and just didn't know what it was:
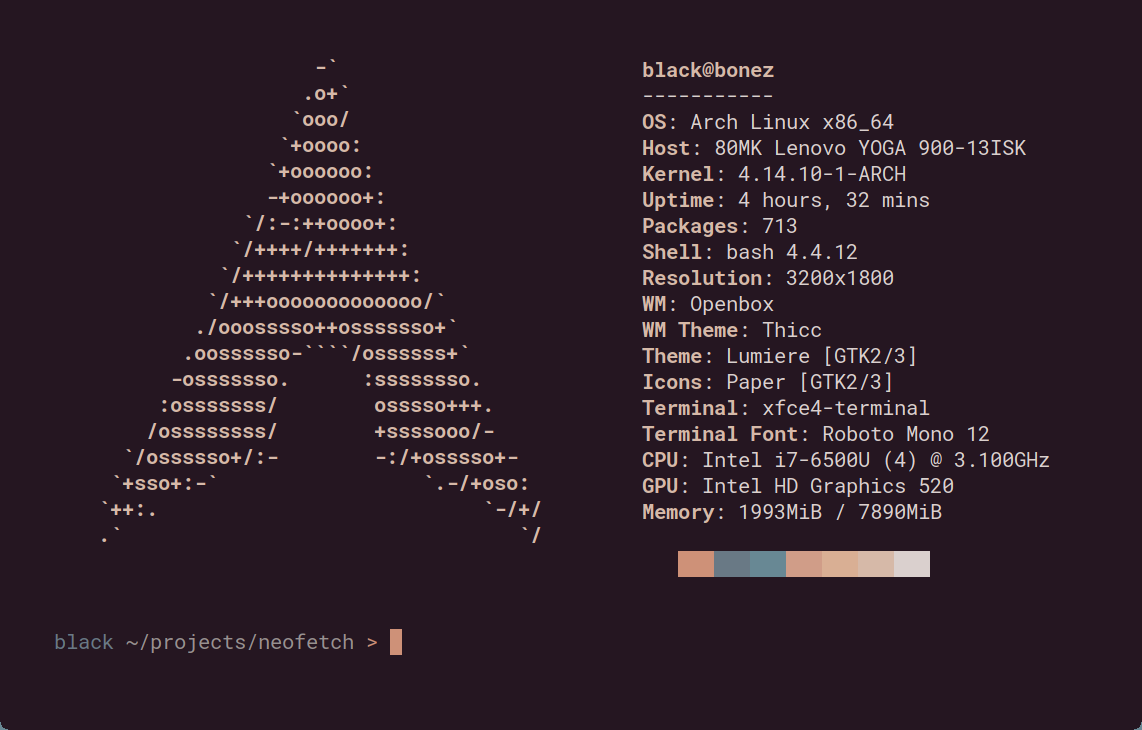
Neofetch is a bash script that can print out system information by executing the command neofetch.
If you want it to run on every new shell, also place it into your shell config and enjoy! :)
Customization of neofetch
It can also contain some custom information besides your OS, such as a version of an installed tool etc.
Configuration is stored inside .config/neofetch/config.conf and is the single source of truth.
The entry point for the right side displaying all the information you can customize the method print_info:
print_info() {
  # ... neofetch builtin stuff
  info "Terraform Version" $((terraform -version || echo "Terraform none") | head -n1 | awk '{ printf $2}' 2> /dev/null || echo "none")
}
The example above also shows the installed terraform version, or simply none when there is no installation found. Since this can be any valid shell script, you can also do API calls, read files etc. But also keep in mind here that every new spawned shell will wait for neofetch to complete before you can use it, so keep it lean.
You can also find more information about customizing in the wiki.
Version your dotfiles
You heard right, version your dotfiles!

There are some great tools out there for putting your dotfiles onto git. And yes, also credentials/secrets - of course not in plain text.
My personal favorite is yadm, which wraps git commands behind yadm and provides some handy encryption/decryption features, as well as simple templating and profiles.
The benefit of versioning your files is that you can mess around and always go back to a working version. Very neat is the possibility to sync the dotfiles across all your devices. It also acts as a backup of your configuration in case things go wrong.
If you feel confident enough to share your dotfiles on GitHub, by convention most people put it under <username>/dotfiles. This doesn't only provide greater visibility, but also may help others.
In case you are interested, feel free to also check out my dotfiles on GitHub.
Closing words
Always optimize your workflows, write custom helpers and aliases wherever helpful. The shell can be a beautiful way to save time and optimize your everyday life.
Sometimes it's hard to find the right balance of optimizing things and keeping it lean. A good rule of thumb is, “if you write it multiple times, try to simplify/automate it”.